Rendering Beef Suet to Tallow
I'm always looking for something new to learn, whether it be spinning my own yarn, canning a new recipe, or making soap so when I came across a really good deal at my local grocery store I just couldn't help it. I had to try something that I had only read about previously. Rendering animal fats into solids.
If I were to render pig fat the end result would be lard; while if I render beef suet (fat) the end result is tallow. While shopping at our local grocery store I inquired in the meat department if they sold beef fat. The butcher excitedly jumped up and said "Sure Ma'am, how much would you like! We've got lots!" Not knowing how much it would take to create how much I just stammered to the gentleman working the butcher shop area "Uhhh, 2 or 3 pounds, I guess?". He jumped away to fulfill my order, he almost seemed excited to give away these scraps that sooner or later I would turn into something wonderful.
As I waited another store patron asked me with a look of some disgust "what are you going to do with it?". I answered nonchalantly "cook with it, make soap with it, make candles with it".
Even the cashier seemed to look at me oddly when she rang up this $1 purchase of 3 lbs of strips of beef fat.
Upon arriving home I put away my groceries and threw my newly acquired beef suet into the freezer where it would harden, thereby making the next job just a tad easier.
After waiting for a good 30 minutes, I took out the suet and begun the hardest part of this task. Chopping up all the slices into smaller slices, and trimming off any parts that had meat attached. I've learned after following many different sources that its important to remove any meat as that can make your finished product (tallow) go rancid faster.
I learned much, much later on in the project that I should have just grabbed out my food processor to make faster work of this. For two reasons. First trying to chop up all the suet I acquired into the necessary small pieces took a really long time and then, I didn't really get the pieces as small as I should have which slowed down the whole rendering process. A LOT.
The goal is to get to a nice crumbly texture before even putting it in the pot. Unfortunately, as I proceeded through the beginning part of this I did not take pictures so I can't share much there. (next time I render more I will add photos here.)
Next step is to decide which route you want to take in rendering. Wet or dry. I decided to go the wet route so to the now mostly chopped up suet I added about a half a cup of water to the pot and turned the stove onto low. At this point it turned into a waiting game. I first put a lid on the pot to help the pot heat up but then after the first 10 minutes I moved the lid to crack it a bit and let the moisture escape. The first 30 or so minutes I grew worried as I didn't see any melting going on. I wondered if maybe I had gotten the wrong type of fat as I have read the best fat to purchase is actually called "leaf lard". This fat comes from the area around the kidneys and is the best, health wise.
If the leaf lard comes from grass/pasture raised cattle the tallow has significant health benefits which include:
- Excellent source of Omega 3 fat. Omega 3's are anti inflammatory and helps to reduce the risk of type II diabetes, thyroid disorders, obesity, heart disease, and some cancers.
- Its a good source of beta-carotene, Vitamin A & E, Vitamin D
- Its a great source of CLA (conjugated linoleic acid) which helps protect you against heart disease and some kinds of cancer.
I know for a fact that the suet I purchased was not from grass fed cows but I hope that maybe this tallow that I would be creating would have even half the health benefits.
I really had no reason to worry that I had purchased the wrong product at the store as within the next hour the suet begun to go through a metamorphosis from a solid to a liquid as all the pieces began to break down and turn to oil. I did make sure to check on it about every 30 minutes or so, give it a good stir, then leave it alone to allow it to break down further. It definitely took a LOT longer than I originally expected as I started it around 1p and it was not complete until about 7pm. Once it seemed as if there was very little left other than the "beef cracklins"
I started the next stage. Straining. I first ran the hot oil through a metal sieve as the oil was still pretty hot and I did not want it to melt one of my plastic ones. Next was to strain it through a cheese cloth. The goal here was to remove as much of any little brown crispy pieces of meat or sinew as possible and make the finished tallow as pure as possible. Looking inside the jars I could still see little brown pieces of meat floating around (they were really really small but the perfectionist in me could not stand them there) so I strained it one last time, this time just using the same metal sieve but with a paper towel thrown over it.
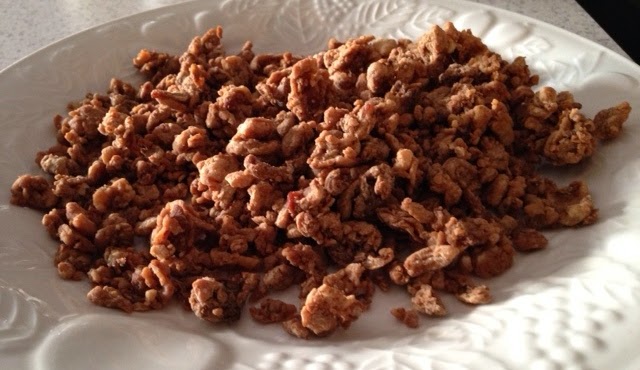 |
| These are really addictive! I added just a bit of salt so its a wonderful combination of salt and fat, both of which are pretty addictive! We will use these from time to time on top of beans and rice, soups or even salads. For now we store them in our freezer and then heat the small amount up when we need them. |
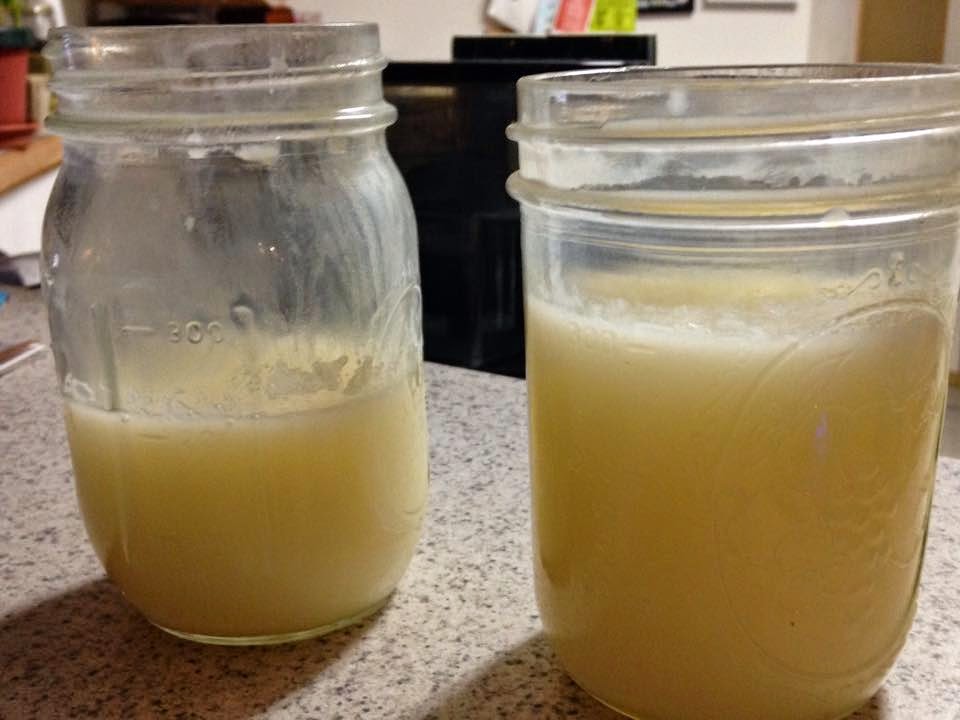
By this time, the oil was cooling very quickly so I had to work fast. Last night, as I put the lids on my jars they looked like this.

But by this morning, this is what they look like! The finished product is beautiful! Finished tallow. Pure, white ivory.
 |
| Smells somewhat like, believe it or not, FRENCH FRIES! Maybe this is because I remember in the 70's and early 80's when fries were made at fast food restaurants with tallow. I'm looking forward to seeing how this does with soap. (aka, does it impart a "BEEF" smell which is not exactly what I want to shower with) |
Comments
Post a Comment